
Large format printing is one of the most impactful ways to showcase your photography, artwork, or personal memories. Whether you’re decorating your home, building a gallery wall, or creating branded pieces for an office or retail space, the quality of the photo you choose is the cornerstone of a stunning final product.
1. Understand the Importance of Resolution and Image Quality
The most critical factor in large format printing is resolution. The larger your print, the more pixels are needed to maintain sharpness and avoid a pixelated or blurry image.
What is Resolution?
Resolution refers to the number of pixels in a digital image. It’s commonly measured in PPI (pixels per inch) or DPI (dots per inch). For professional large prints, you want a minimum of 150 PPI at the final size, though 300 PPI is ideal.
How to Calculate It
If you’re printing a 24″x36″ poster and want 300 PPI, you need:
- 24 x 300 = 7200 pixels (width)
- 36 x 300 = 10,800 pixels (height)
That’s a huge image, which is why RAW photos from professional cameras work best. Smartphone images may work for smaller sizes, but often fall short for larger prints.
2. Choose the Right Subject for the Size
Not every photo is suitable for large format printing. Some images look great in small frames but lose their impact when enlarged.
Best Types of Photos for Large Format:
- Landscapes & Nature Scenes: Wide, open compositions with natural detail scale beautifully.
- Architectural Photography: Strong lines, textures, and symmetry offer visual interest even at large sizes.
- Abstract or Minimalist Art: Bold colors and shapes retain clarity and avoid visual clutter.
- Portraits with Clear Focus: Close-up, high-detail portraits with smooth backgrounds create a strong impact.
What to Avoid:
- Low-resolution selfies or screenshots
- Photos with digital zoom
- Grainy or underexposed images
- Cluttered scenes with too many details (which may become overwhelming at scale)
3. Consider the Aspect Ratio and Print Size
Aspect ratio is the relationship between the width and height of your photo. For example, a 3:2 aspect ratio is common in DSLR cameras and prints naturally at 24″x36″. Cropping a photo to fit a different ratio may lead to unwanted cuts or empty spaces.
Matching Aspect Ratio:
- Match your photo’s ratio to standard print sizes to avoid stretching or distortion.
- Use editing software like Photoshop or Lightroom to crop responsibly before printing.
Print Size Matters:
- For wall murals or extra-large prints (over 40”), even professional images may need to be upscaled with specialized software like Topaz Gigapixel.
- Choose sizes appropriate to viewing distance. A large piece viewed from across the room doesn’t need as high a resolution as one viewed up close.
4. Lighting and Exposure: Get the Basics Right
Proper lighting is essential for a clean, professional print. When printed large, every shadow, highlight, or blown-out area is magnified.
Tips for Ideal Exposure:
- Shoot in good natural light or use professional lighting equipment.
- Avoid strong backlighting unless you’re aiming for silhouette.
- Balance highlights and shadows for a more evenly exposed image.
Use RAW format if possible—this gives you greater control over exposure and detail recovery during post-processing.
5. Pay Attention to Composition and Focus
Large prints exaggerate both strengths and flaws in composition. What might be subtle in a small image becomes prominent when printed big.
Elements to Focus On:
- Simplicity: Less is often more. A single subject or clean composition has more impact.
- Rule of Thirds: Use compositional guides to create balance and interest.
- Focus Point: Make sure the subject is sharply in focus. Even a slight blur can ruin a large print.
- Leading Lines: Use architectural lines, roads, or natural elements to guide the viewer’s eye.
6. Color Accuracy and Editing for Print
What looks good on screen doesn’t always translate well to print. Colors may appear dull or too saturated depending on the printer and material.
Steps for Color-Perfect Prints:
- Calibrate your monitor before editing.
- Use Adobe RGB or ProPhoto color spaces for maximum color detail.
- Export in high-quality TIFF or JPEG formats with embedded color profiles.
- Avoid over-editing—especially heavy filters or noise reduction, which may degrade quality at large sizes.
Ask your printer for a soft proof or sample print before committing to large runs.
7. Choose the Right Medium (Canvas, Acrylic, Metal, etc.)
The medium you print on has a huge influence on how the photo is perceived.
Canvas Prints:
- Soft, textured, matte finish
- Ideal for traditional or rustic décor
- Slightly reduces sharpness, but adds character
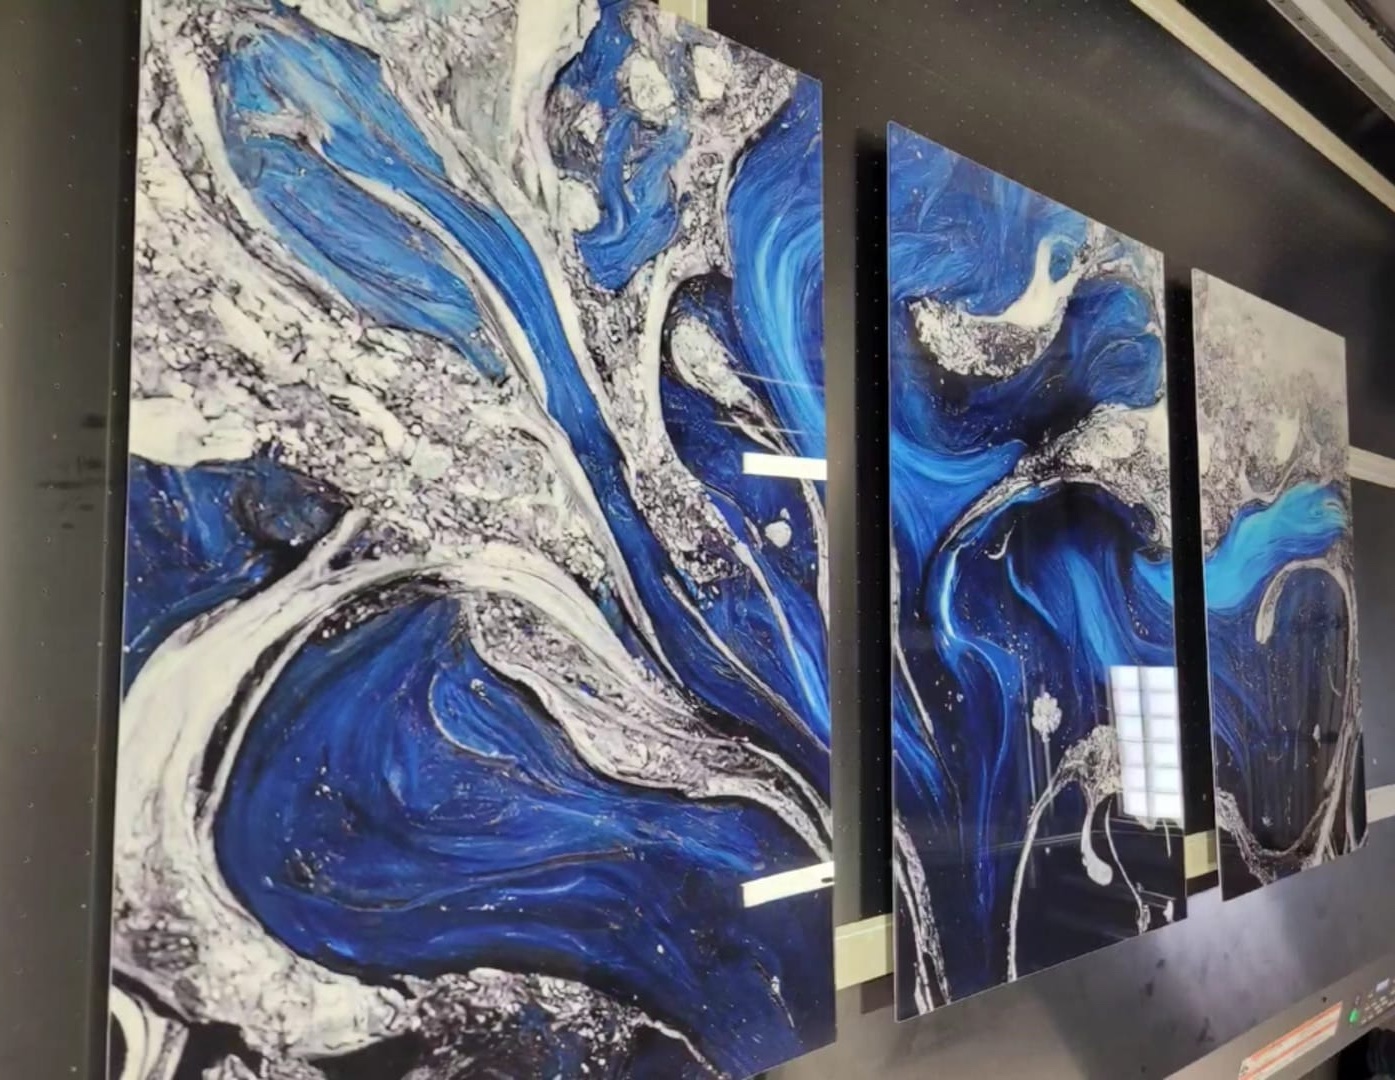
Acrylic Prints:
- Ultra-sharp, glossy finish with vibrant color
- Best for modern interiors and professional displays
- Resistant to UV, moisture, and fading
Metal Prints:
- Sleek and industrial
- Offers good detail and contrast
- Great for outdoor use and modern themes
Choose a medium that complements your image and environment. Some images (like portraits) suit canvas, while others (like cityscapes) shine in acrylic or metal.
8. Technical Specifications to Send to Your Printer
When preparing your file for printing, keep the following in mind:
- File Type: TIFF (preferred), PNG, or high-quality JPEG
- Color Profile: Adobe RGB or CMYK if requested
- Resolution: At least 150–300 PPI at final size
- Crop and Bleed: Leave room for wraparound edges if printing on canvas
- File Size: Large files may need cloud transfer (Dropbox, WeTransfer, etc.)
Talk to your print provider about their preferred settings and formats. Every printer is different.
9. Avoid Common Mistakes in Large Format Printing
- Using Low-Resolution Files: This results in blur or pixelation.
- Ignoring Aspect Ratio: Leads to unintended cropping or white space.
- Not Checking the Preview: Always ask for a mockup or digital proof.
- Over-Editing or Oversharpening: Too much editing causes halos or noise.
Prints are investments—double-check your file before submission.
10. Testing Your Photo Before Full Print
If you’re unsure how a photo will look at full scale, print a test section of the photo at actual size on paper.
This will reveal any flaws, grain, or sharpness issues. You can also test different print materials with small versions of your image to compare vibrancy, texture, and finish.
Conclusion: Planning Is the Key to a Beautiful Large Format Print
Choosing the best photo for large format printing isn’t just about picking a favorite picture—it’s about planning, understanding technical requirements, and matching your image with the right print format.
To summarize:
- Start with a high-resolution photo
- Ensure proper exposure, focus, and composition
- Match aspect ratio to print size
- Edit carefully for print, not just screen
- Choose the right medium for your space
- Work with a professional printer who can guide you
At our Miami-based studio, we help clients bring their photos to life through premium canvas and acrylic printing. Whether you’re designing for your home, office, or gallery, we provide expert advice and professional-quality results every step of the way.
Ready to turn your photo into a large-scale masterpiece? Upload your image today and let’s make your vision real.
No responses yet